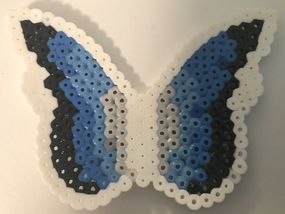
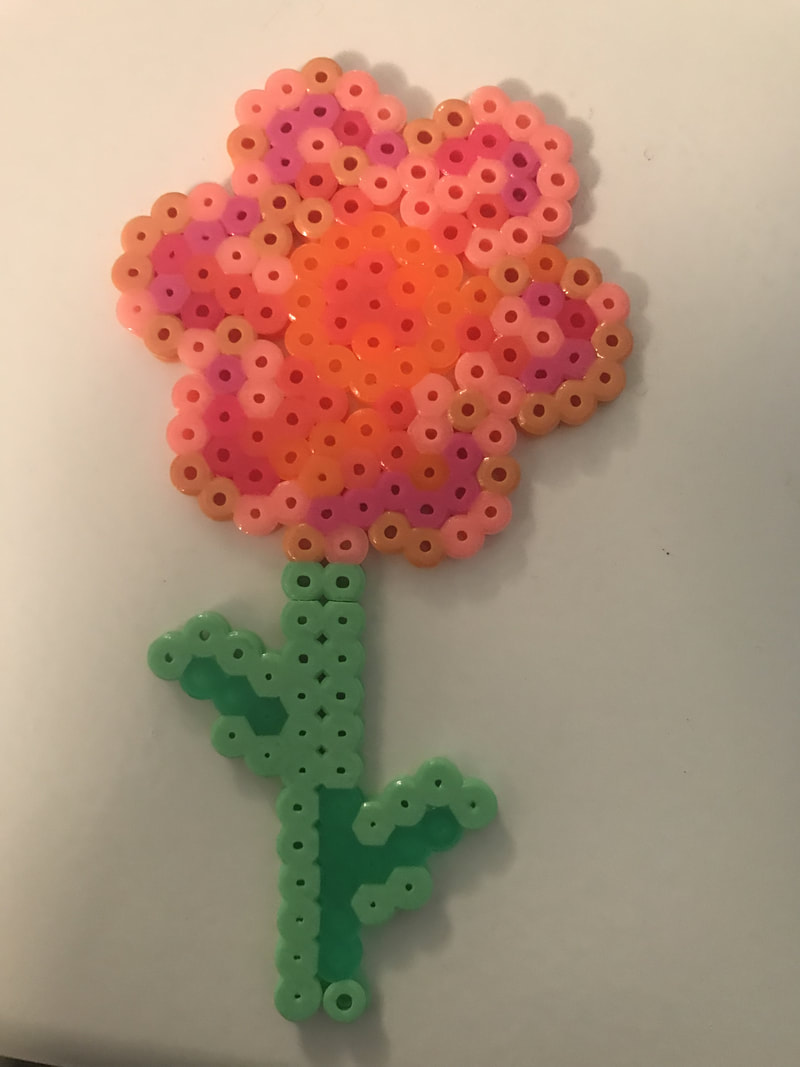
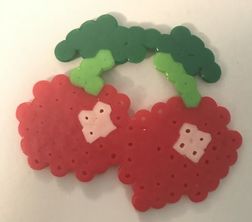
Here is my final project, I made a flower, cherries, and a gorgeous butterfly. Don't let fuse beads fool you, this took a lot longer than I would like to admit.
0 Comments
(you may have to click on the blog post to see my answers)
 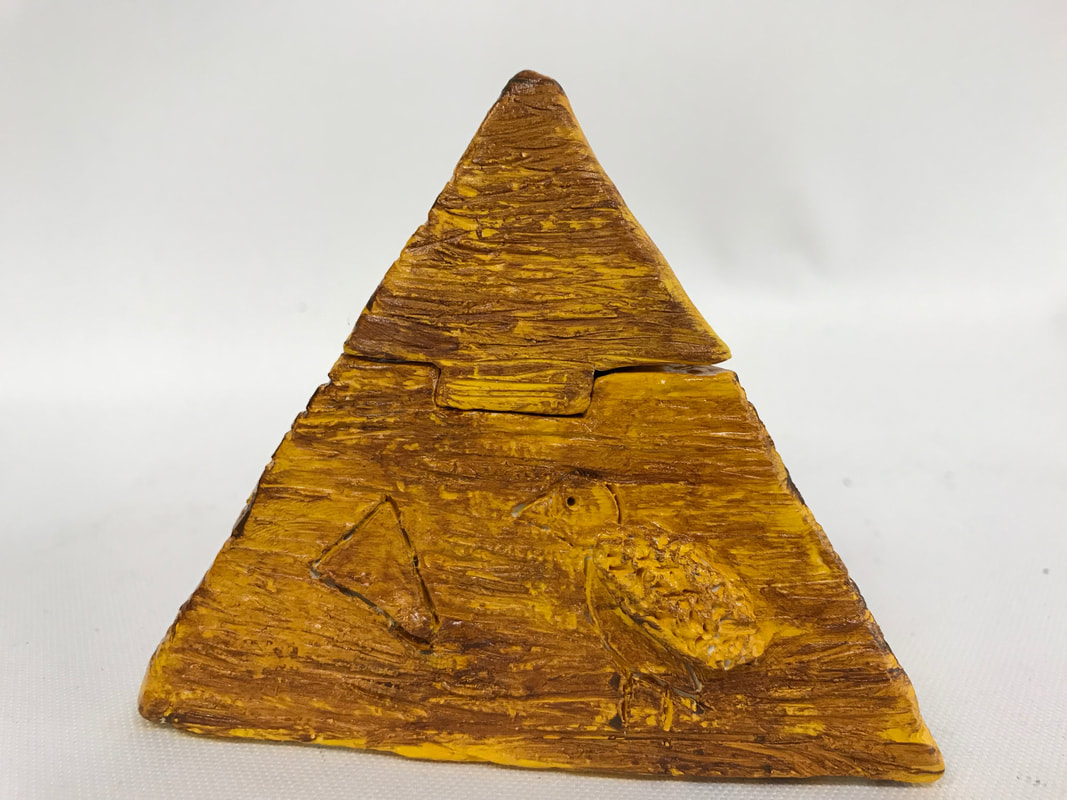 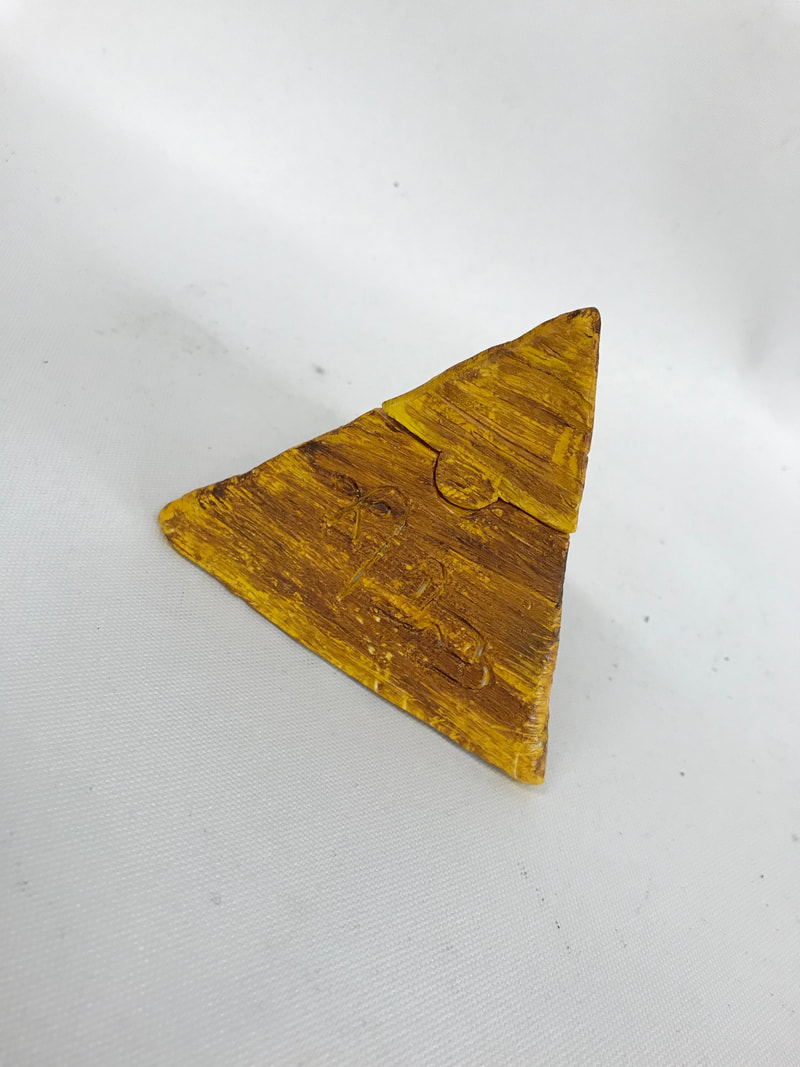 1. Since my in progress blog post, lots of things have changed. Once my piece was fired in the kiln, I began to decorate it. I first painted my whole piece with yellow acrylic paint. Next, I used a fan brush to paint with brown acrylic paint that I mixed together on top of the yellow. To finish it off, Mrs. Sudkamp sprayed my piece with glaze spray (I think). I did not paint on any glazes on my piece and didn't do glazeware. 2. I think the color of my piece is successful. It resembles a real pyramids color in a way. I also think the texture of my piece is very successful! 3. If I could do it again, I would paint over my carving so you could clearly see what they were. Or I wouldn't paint it at all so it'd be clean and chic. 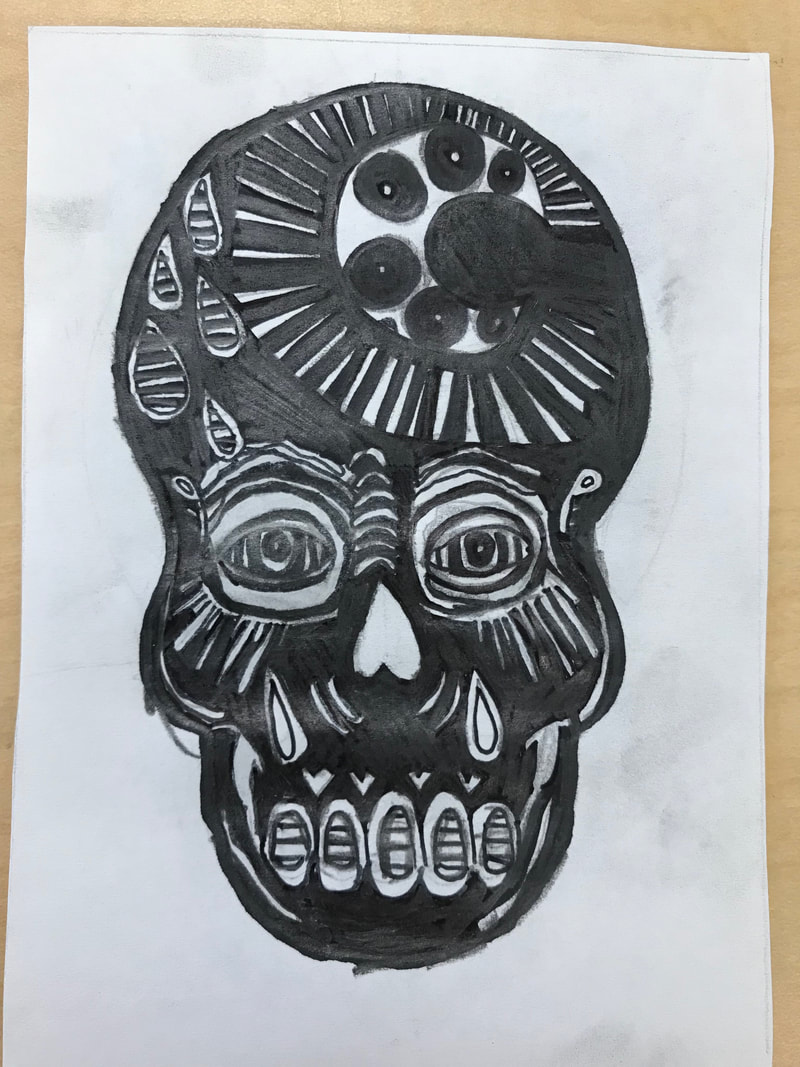 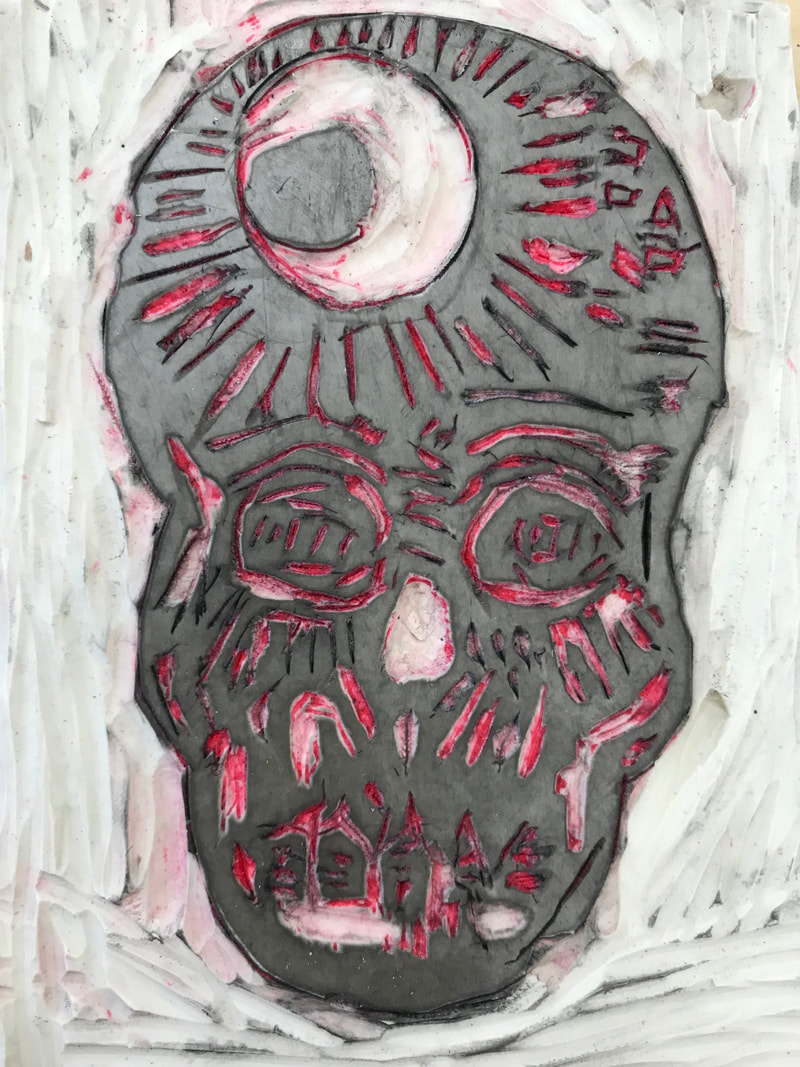 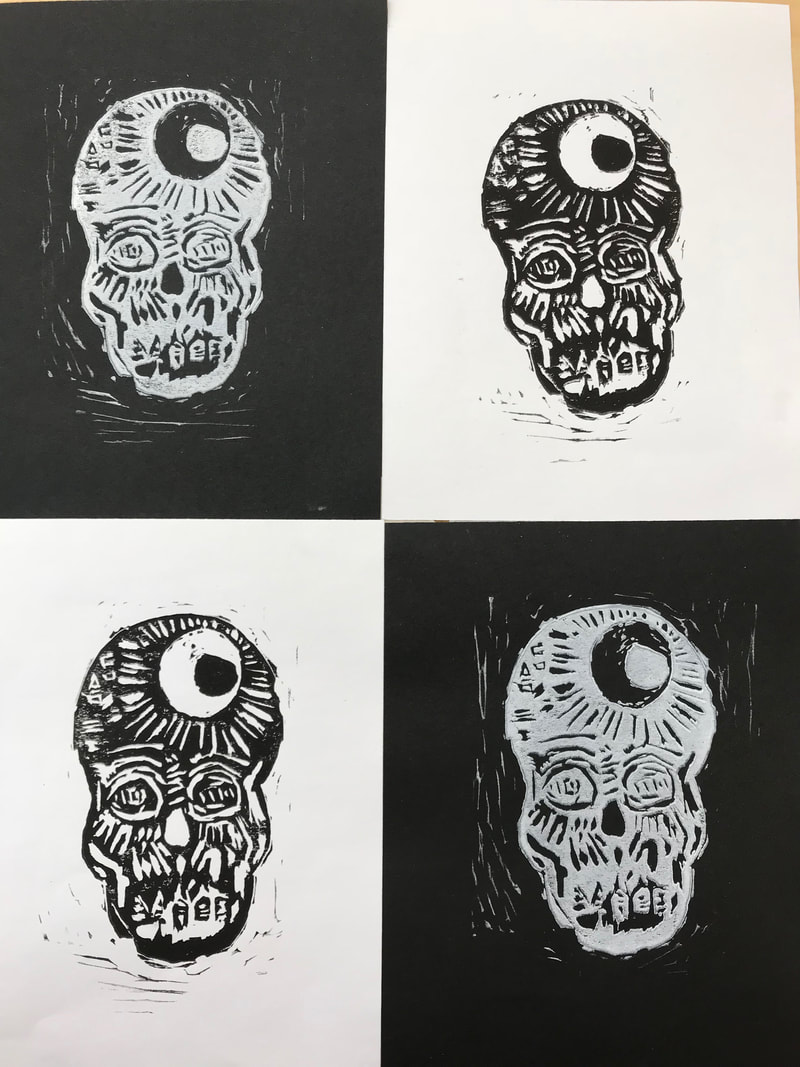 1. My piece shows off the theme of line in many ways. First of all, my piece has lots of lines in the design throughout the rays of the sun and face markings. I also have a few lines on the border around the skull.
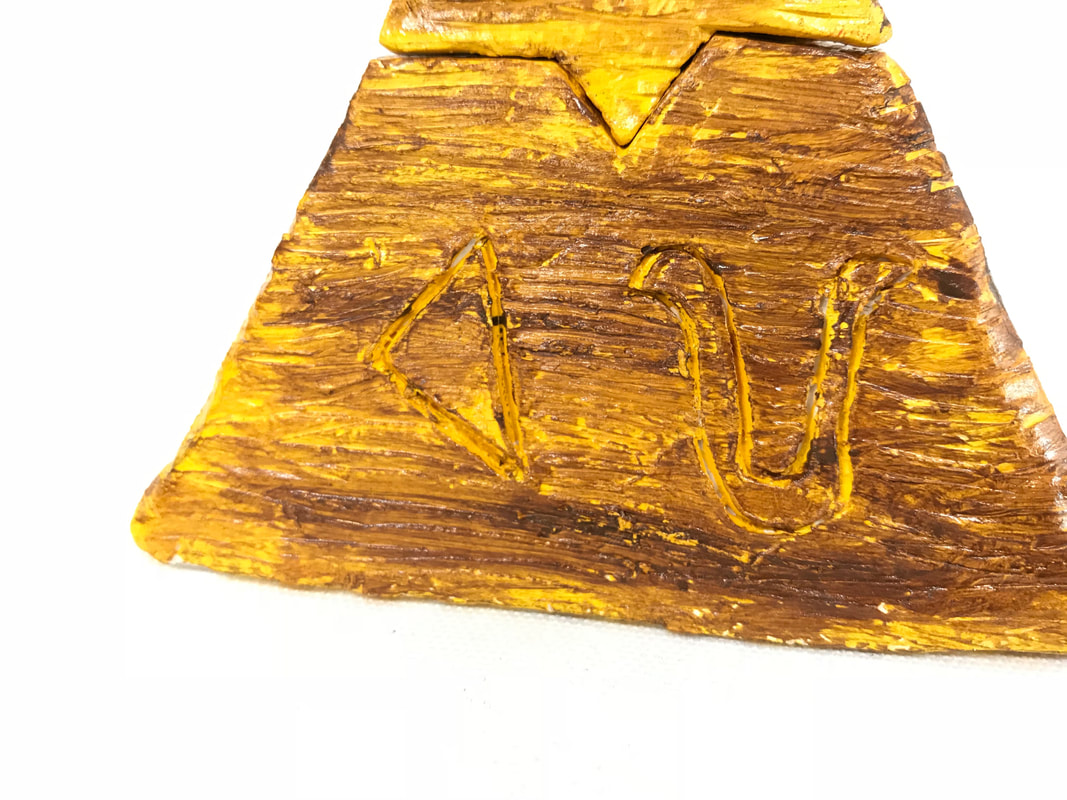
2. I am very happy that you can thoroughly see what the print is of. I was worried that it would be hard to see it was a skull. I also love the creative and artsy vibe my piece gives off. If I were to do it again, I would add some cute designs throughout the skull instead of lines and random shapes. 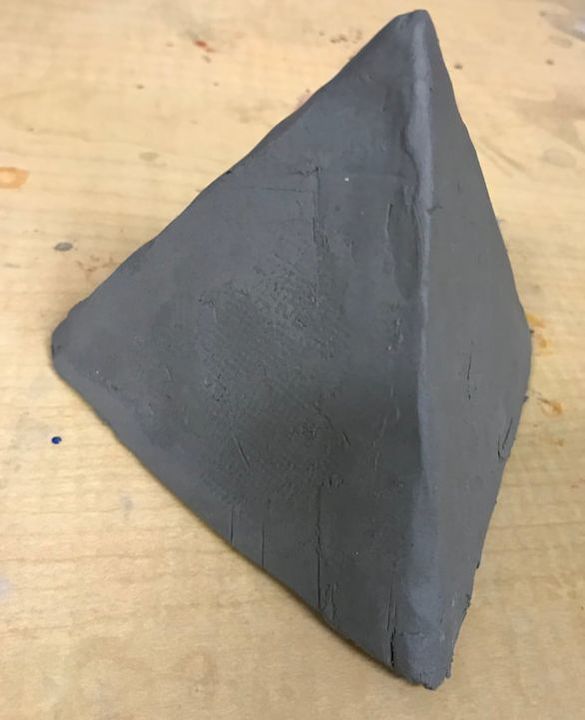 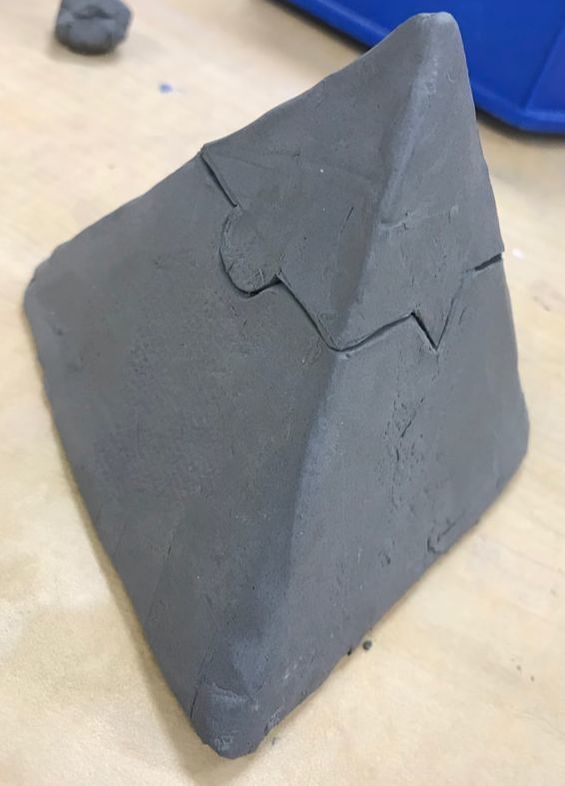 1. I plan to carve hieroglyphics onto each side of my pyramid. The hieroglyphics will spell out my name when finished. I also plan to add texture to the each side and then put it in the kiln. Next, I will paint it realistic colors of a pyramid.
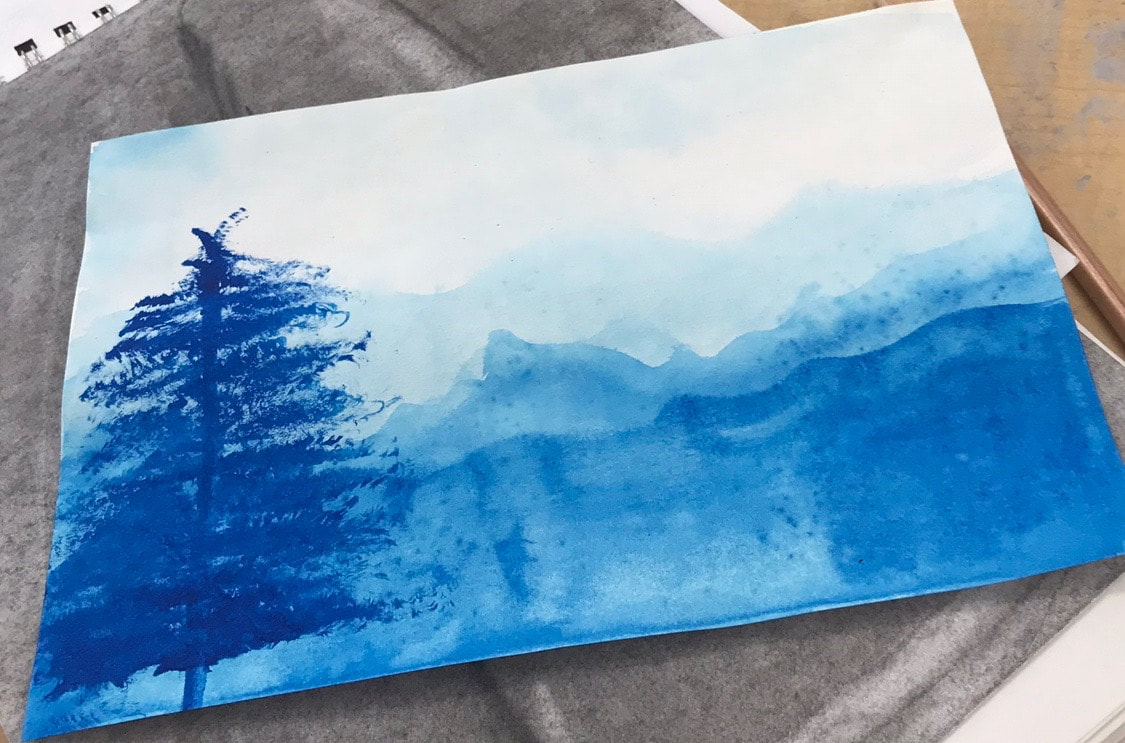
2. So far, I think it was hard making the initial pyramid itself. Lining up the triangles was very difficult and it was hard because we were all experimenting with this shape. 3. I think the shape of my pyramid is pretty successful, you can tell what it is. I am also very happy with my puzzle lid! 4. First, I cut a chunk of clay and used the slab roller to roll it into a slab with no air bubbles. Next, I cute out 4 triangles from the slab. I then scored, scratched and slipped each side of the triangle when forming them all together to make a pyramid. Next, I cut out my puzzle lid using an exactoknife and carved in my hieroglyphics. Then it was time for my greenware to bisque, which means my pyramid had to be put in the kiln to fire. 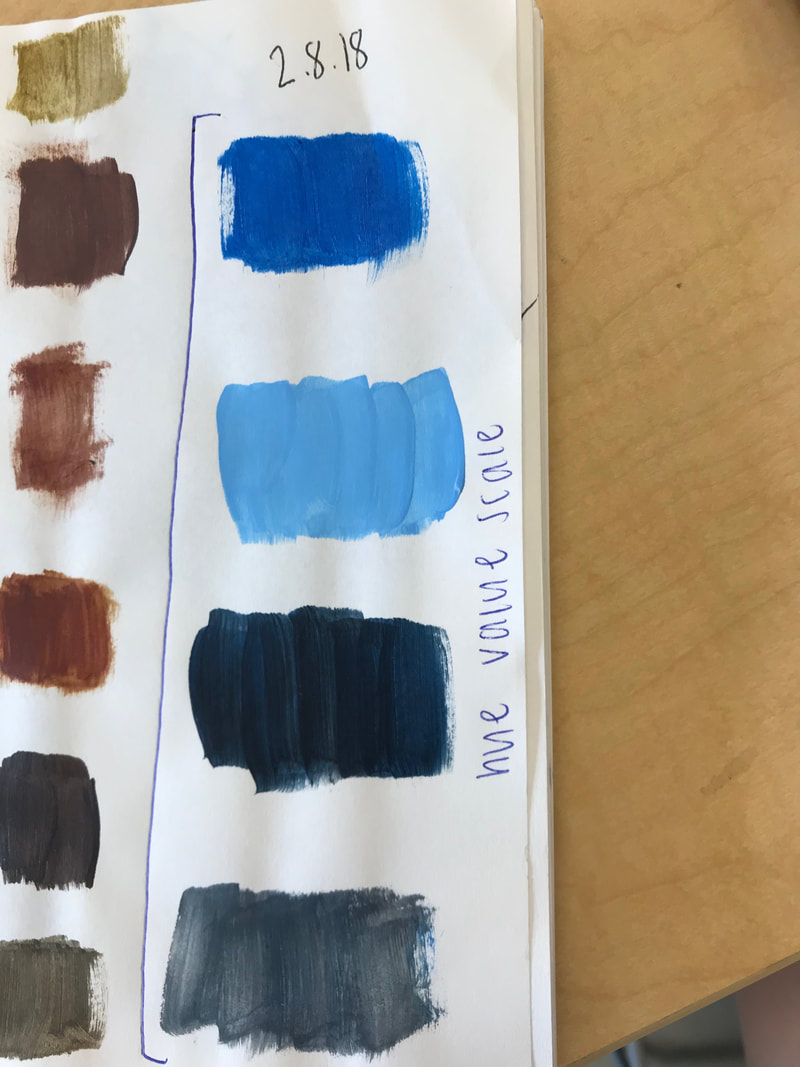  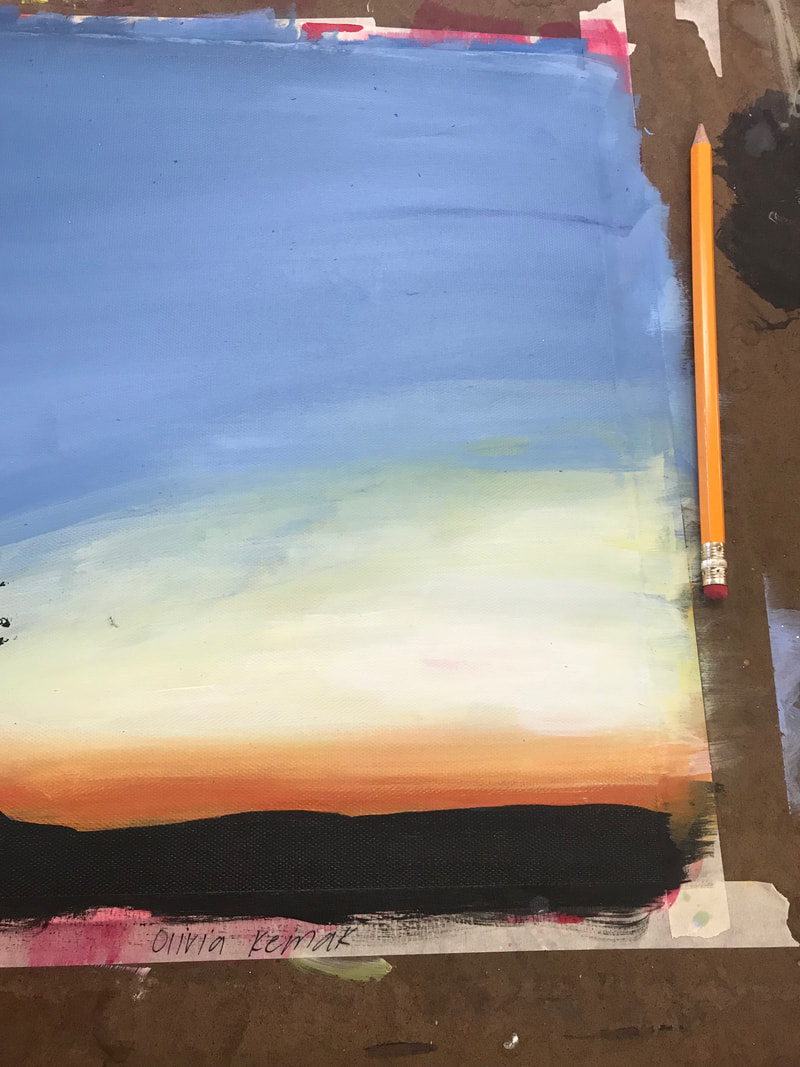 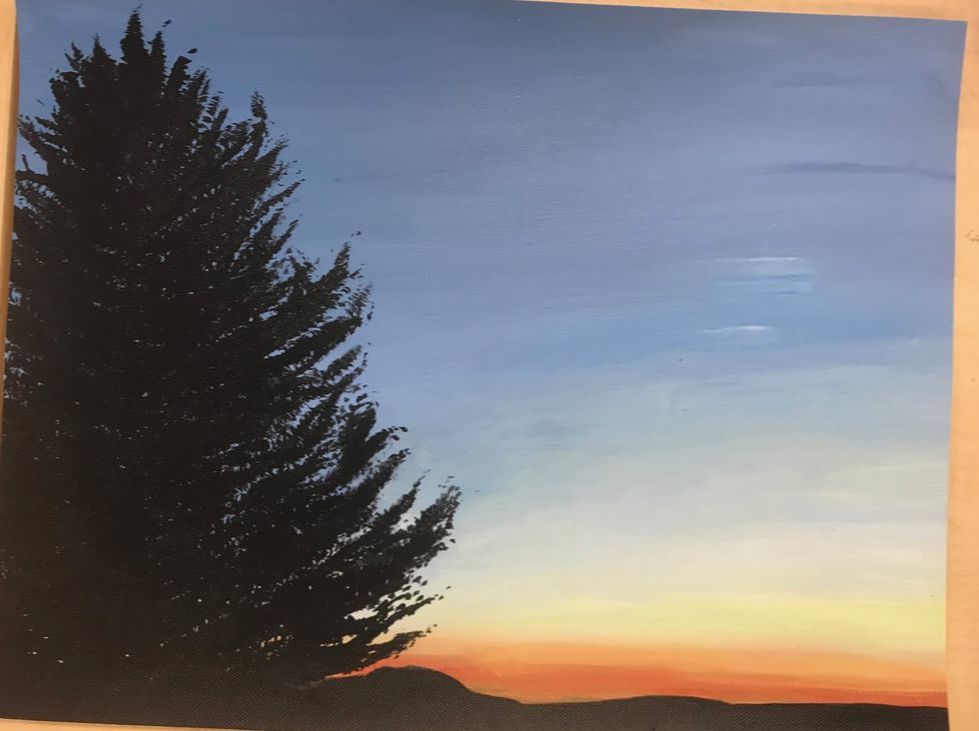 1. My painting is of a picture of the sunset in the mountains. It's important to me because the sunset was stunning and I was experienced it with my best friends. It was the highlight of the entire trip!
2. The most challenging part was definitely the background. The sunset was so hard because I had to blend without making green and it was hard to add the hint of pink. 3. I think the tree was my most successful part. I painted it without drawing it first and I am very impressed with myself. I think it looks like a real tree and very similar to the picture. 4. First, I did a red watercolor base for the background. Then once it dried, I started painting the background sunset which took me a long time. Then I painted the black mountains and ground. Finally, I painted the big tree on top of the background once everything was dry. 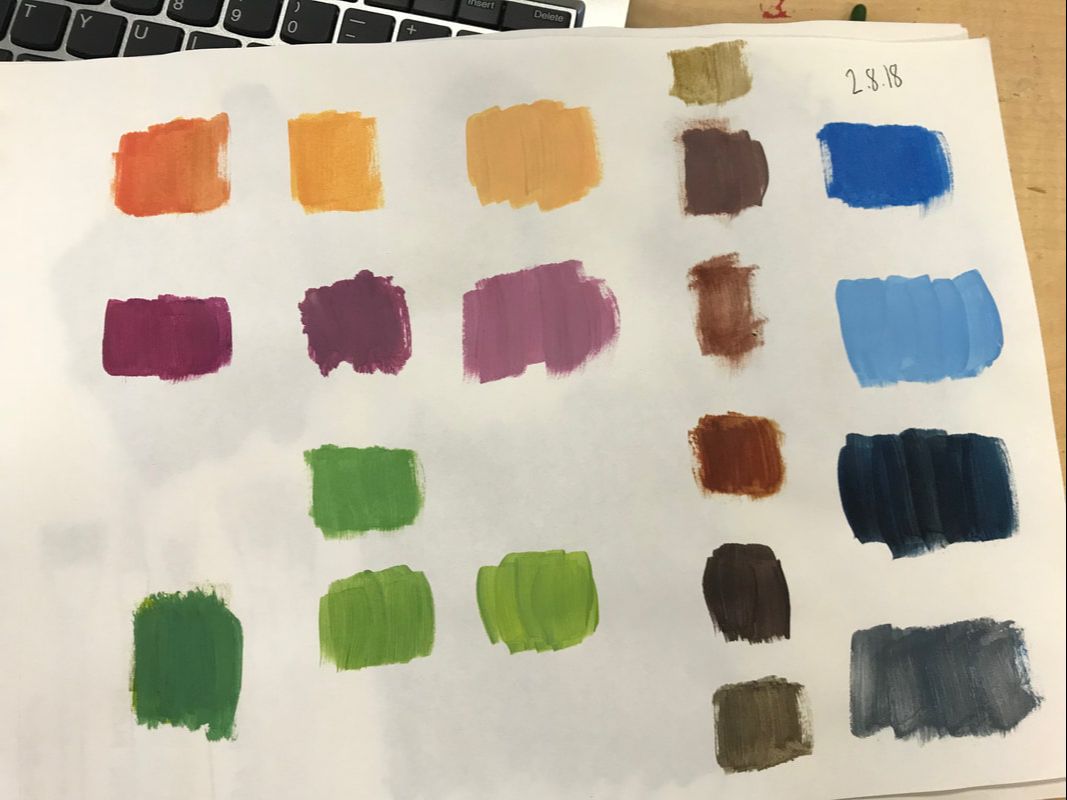 1. I learned how to create and match colors. This activity was surprisingly much harder than it looked, it took me a while to accurately match the colors. 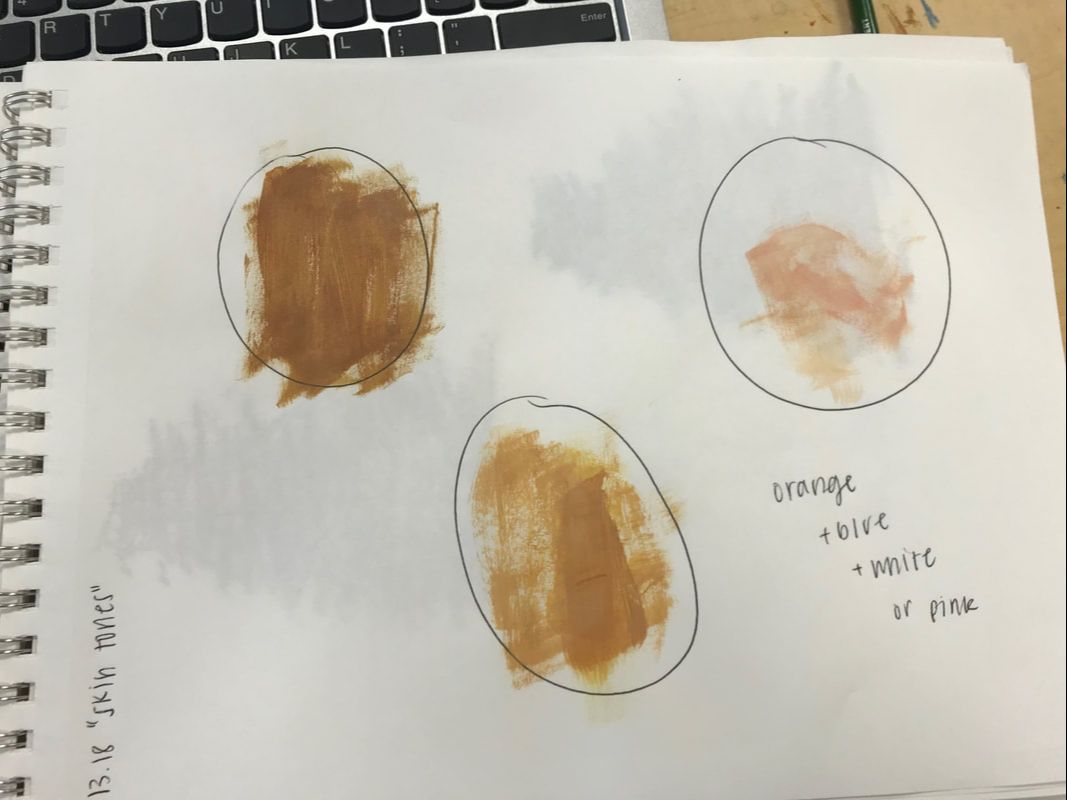 2. To make brown, you mix complementary colors. For example, I mixed orange and blue to make the skin tone. If you want to make the brown lighter, you can add pink or white.   |
 RSS Feed
